

Soil Moisture Meter
Purpose
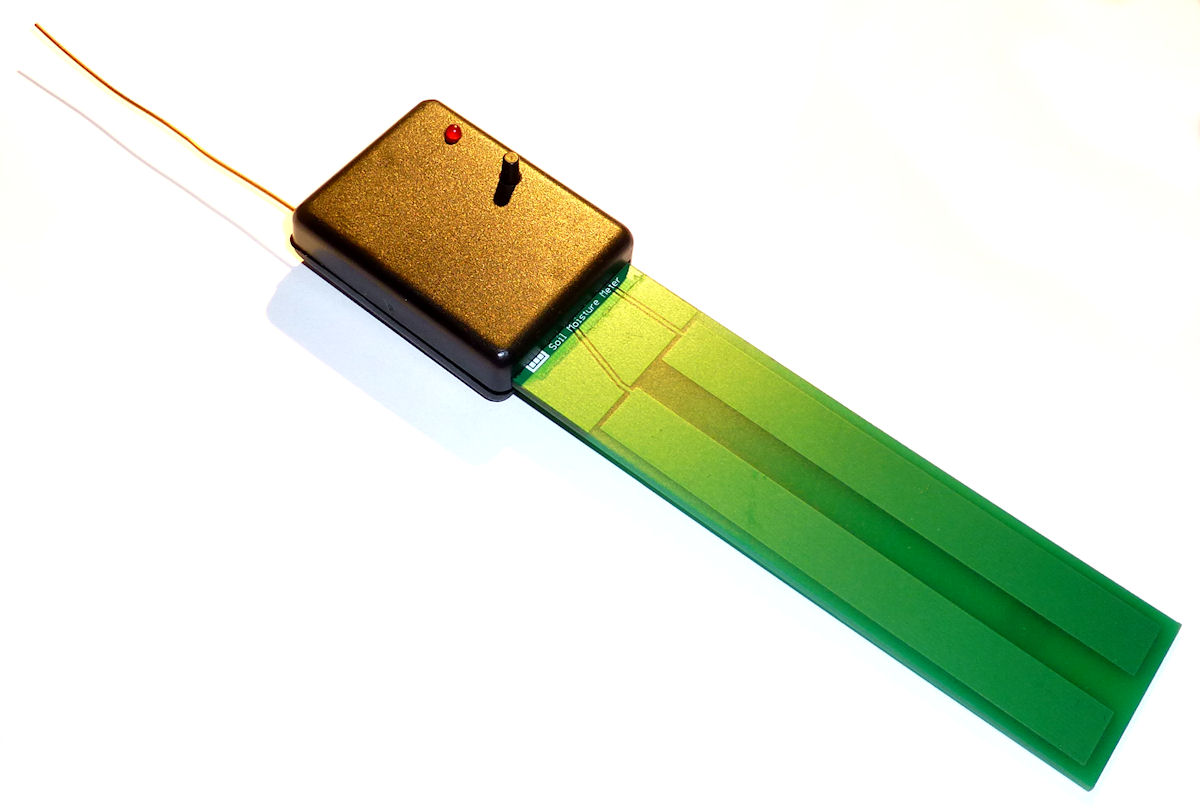
This device measures the moisture of the flower soil of your plants. If the moisture drops below a defined value, you are informed it's time to water the plants again. Using several of these devices (one for every plant), you don't have to worry anymore about your plants drying up.
The device uses a capacity sensor area to measure the moisture. Two square copper areas on the PCB serve as a plate capacitor. In contrast to a resistive measuring method, this sensor does not wear over time because of oxydizing. The values are therefore reproducible and accurate.
Functions, Behavior
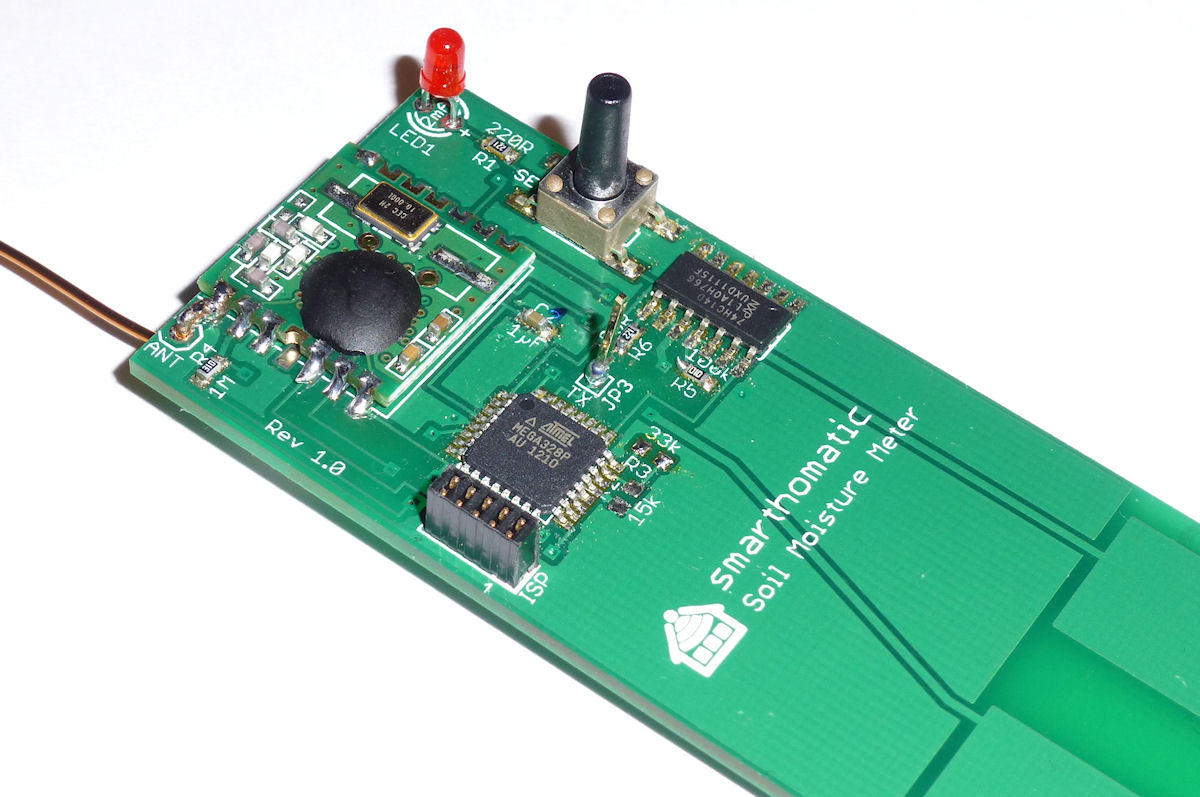
The first thing you want to do after installing the sensor is to initialize it. This is to tell the device which moisture level you define being "dry". You can start the initialization by pressing the button for some seconds. The LED will blink to indicate that the sequence is started. The device takes several measurements to calculate an accurate threshold. You can change the amount and time between measurements in the E2P configuration. The default is five measurements with 15 minutes time between. After all measurements are done, the device goes into normal operation mode.
In normal operation mode, the device measures the soil moisture after some hours of a deep sleep with only ~ 1.5µA power consumption. After several of these measurements (configurable in E2P), the device sends out the humidity as a value between 0 and 1000 permill. The range is automatically adjusted by remembering the maximum moisture level that happens in the current watering cycle. You will see that after watering your plant, the value will go high and then lower again when the soil gets dry. If the level hits 10%, it may be time to let your server software connected to your base station inform you somehow, maybe with an alarm of the RGB dimmer or by sending an email.
Supported Messages
- Generic_DeviceInfo_Status
- Generic_Battery_Status
- Weather_Humidity_Status
E2P Device Configuration
| Offset | Block | Content | Type | Size | Description |
|---|---|---|---|---|---|
| 0 | Hardware Values for hardware setup, which have no special meaning to SHC device concepts + the DeviceType, which decides about the existence of further blocks. | DeviceType | EnumValue | 1 Bytes | The device can check with this value if the EEPROM data is meant for the actual type of device. If not, the device goes into an error mode. Values: 0 = BaseStation, 10 = Proxy, 20 = EnvSensor, 40 = PowerSwitch, 43 = IRTransceiver, 45 = Controller, 50 = RGBDimmer, 60 = Dimmer, 70 = SoilMoistureMeter, 80 = Thermostat, 90 = TeaMaker |
| 8 | OsccalMode | IntValue | 1 Bytes | This value is used to change the speed of the internal oscillator. 0 = don't use OSCCAL calibration (e.g. external crystal oszillator is used). -128 = OSCCAL measure mode: the LED blinks every 60s, so the user can measure the original speed. -127..+127 = The speed is adjusted by the given amount in per mill (e.g. 10 means to speed up the device by +1%). MinVal: -128, MaxVal: 127, Default: 0 | |
| 16 | Reserved | 6 Bytes | n/a | ||
| 64 | Generic This block contains SHC configuration data which every device has. | DeviceID | UIntValue | 12 Bits | The DeviceID identifies the specific unit in the SHC network. It is used to address the device and in messages the device sends. Every device has to have a different DeviceID. MinVal: 0, MaxVal: 4095 |
| 76 | Reserved | 4 Bits | n/a | ||
| 80 | PacketCounter | UIntValue | 3 Bytes | The PacketCounter is counted up throughout the whole lifetime of the device and is used to make the encrypted packets differently from each other every time. MinVal: 0, MaxVal: 16777215 | |
| 104 | Reserved | 19 Bytes | n/a | ||
| 256 | AesKey | ByteArray | 32 Bytes | This key is used to encrypt packets before sending and also used as primary key to decrypt packets. Special devices may have additional keys in their device specific block. | |
| 512 | SoilMoistureMeter This device can measure the humidity of soil to estimate if watering of plants is necessary. | WakeupIntervalInit | EnumValue | 2 Bytes | Decide about the interval between two measurements when the device is in initialization mode (after button press) to remember the dry threshold value. Values: 1692 = 10s, 2421 = 1m, 2538 = 2m, 2794 = 4m, 3050 = 8m, 3292 = 15m, 3474 = 20m, 3548 = 30m, 3804 = 1h, 4060 = 2h, 4261 = 3h, 4316 = 4h, 4517 = 6h, 4572 = 8h, 4773 = 12h, 4828 = 16h, Default: 3050 |
| 528 | AveragingIntervalInit | UIntValue | 1 Bytes | The number of values whose average is calculated before the dry threshold is remembered. MinVal: 1, MaxVal: 16, Default: 6 | |
| 536 | WakeupInterval | EnumValue | 2 Bytes | Decide after which time the device should be woken up by the RFM12B transceiver to measure or send values. Values: 1018 = 2s, 1274 = 4s, 1467 = 6s, 1530 = 8s, 1692 = 10s, 1770 = 15s, 1948 = 20s, 2027 = 30s, 2224 = 45s, 2421 = 60s, 2450 = 75s, 2480 = 90s, 2509 = 105s, 2538 = 2m, 2736 = 3m, 2794 = 4m, 2962 = 5m, 3050 = 8m, 3248 = 12m, 3292 = 15m, 3474 = 20m, 3548 = 30m, 3804 = 1h, 4060 = 2h, 4261 = 3h, 4316 = 4h, 4517 = 6h, 4572 = 8h, 4773 = 12h, 4828 = 16h, Default: 3548 | |
| 552 | AveragingInterval | UIntValue | 1 Bytes | The number of values whose average is calculated before the current humidity is calculated and sent. MinVal: 1, MaxVal: 16, Default: 6 | |
| 560 | DryThreshold | UIntValue | 2 Bytes | This is the dry threshold and maximum counter value that should happen. MinVal: 0, MaxVal: 65535 | |
| 576 | MinVal | UIntValue | 2 Bytes | This is the minimum counter value measured in the current watering cycle when the soil is wet. MinVal: 0, MaxVal: 65535 | |
| 592 | SmoothingPercentage | UIntValue | 1 Bytes | This is the size of a moving window in which the absolute humidity (0 to 100 percent) is smoothed. This is necessary because the raw values typically show some short term variation, depending on external circumstances (plant in sunlight or above radiator). The variation also depends on the thickness of isolation above the sensor plates. MinVal: 0, MaxVal: 30, Default: 8 | |
| 600 | Reserved | 949 Bytes | n/a |
Hardware Overview
| PCB | Soil Moisture Meter PCB (SMDSurface-mounted device Using this technique, the components are soldered directly to the surface of the PCB. The components are often very small. Their pin pitch is also small. Building up these devices needs some experience in soldering.) 150 x 33 mm |
|---|---|
| Microcontroller | ATMega 328P-AU (32-pin TQFP) |
| Clock Source | 1 MHz internal R/C oscillator |
| RFM Transceiver Mode | TX only |
| UART | only debug TX |
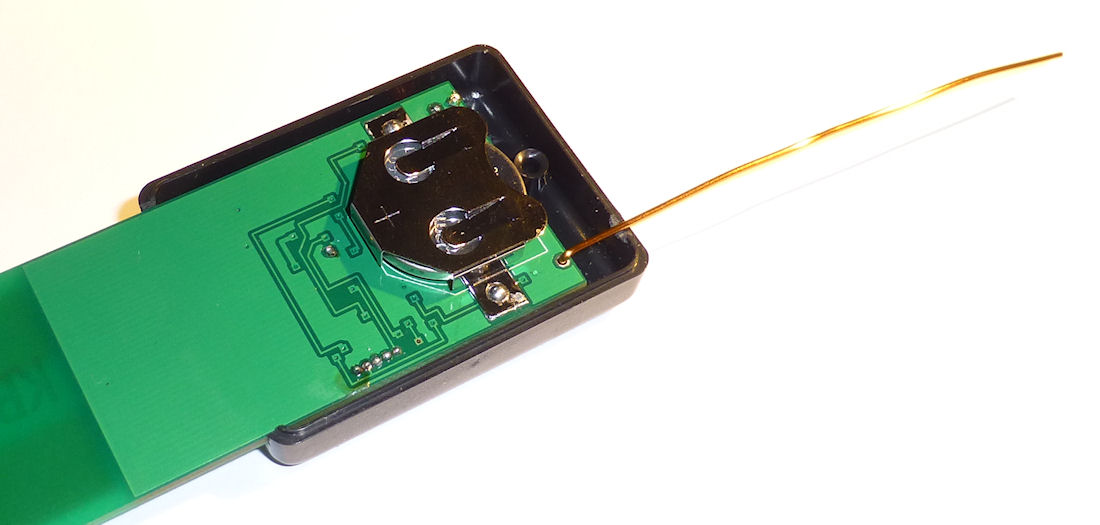
| Power | 3V battery CR232 |
Schematic

Layout

Download
- Firmware Builds for the ATMega
- Hardware Schematics + Layout at Codeberg
- SourceCode at Codeberg
Assembly Instructions
Look into the Wiki for assembly instructions for this device. It would be appreciated if you correct or enhance the description whenever you find potential for improvement.
Fun fact: Did you know that the whole smarthomatic project started with this device? It's true, a first version without wireless transmission was build in 2011 already. So after 3 and a half year I'm glad that this device can finally join the family of SHC devices. :-)